I’ve been using arduino for a while, and allthough I like it for what it is, I have fallen a little head over heels with python! So, when I finally found micropython and had an ESP32-board laying around, it was time to take the step into the big boy league (ok, maybe not exactly, but it is allways exciting to step away from what is known and safe).

First things first! You’ll need a board of some sort that uses the ESP32 microcontroller. In my case I’m using a TTGO LoRa32 board giving me LoRa, WiFi, Bluetooth and the ESP32. I’m developing from a windows machine, so my steps will reflect that. You’ll need to have pip installed as well, and the board connected to your computer.
We’ll start by downloading the micropython firmware from https://micropython.org/download/. I selected the latest stable release. Once that is done we’ll open the command prompt and install esptools so that we can flash the firmware to the ESP32.
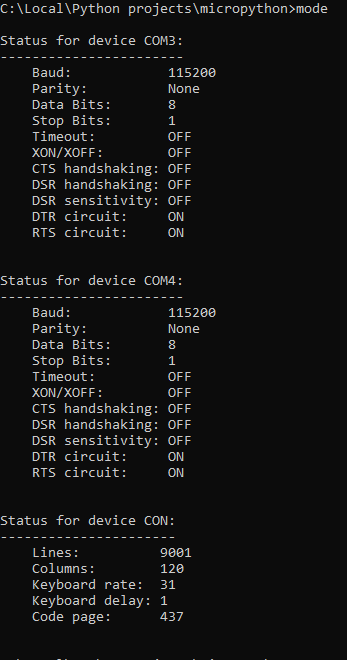
pip install esptoolOnce that is done you need to figure out which serial port the controller is connected to. You can either do this by looking in the device manager, or by running the following command at the command prompt. Try connecting and disconnecting a few times while running the command to see which port you are changing.
Now you have esptools, the firmware and the port your controller is connected to, so we can start flashing the firmware like this
esptool.py --port COM4 erase_flash
esptool.py --port COM4 --baud 460800 write_flash --flash_size=detect 0 esp32-idf4-20210202-v1.14.bin
If all went well you have micropython on your ESP32! Let’s try and connect to it and see what happens. For this I found rshell to be awesome and simple to use (you can get it here: ). At the command prompt, navigate to the folder on your machine where you have your scripts that you want to run on your ESP32. It is not strictly necessary at this point as we are only going to connect over serial and open REPL, but it’s nice to be ready for the next step. Now, run the following command to start rshell (replace “COM4” with the port you found in the previous step)
rshell -p COM4Now that you are running rshell you can use the following commands
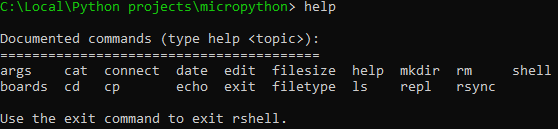
Try displaying the connected boards like this
boardsThen move to that board like this

Congratulations, you are now on the ESP32! Run repl at the prompt to open REPL
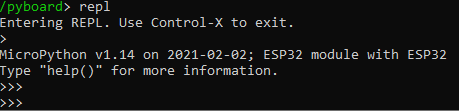
If you got to the REPL, let’s try to turn the onboard led on and off by running these statements one after the other
import machine
led = machine.Pin(2, machine.Pin.OUT)
led.value(1)
led.value(0)

If everything has worked well so far: Congratulations! You now have micropython running on an ESP32, and have successfully started the repl on it and possibly made it blink an LED! In my next post on micropython I will write about how to transfer files to the ESP32 and run them on board!
