My HR-manager proposed a device that could be installed on a network to capture traffic and send data to an attacker to be analysed offsite. To make this device he borrowed me his LAN tap from GreatScottGadgets (https://greatscottgadgets.com/throwingstar/)
I figured I wanted to try to make my own, so here’s a quick guide on how to make your own ethernet wiretap!
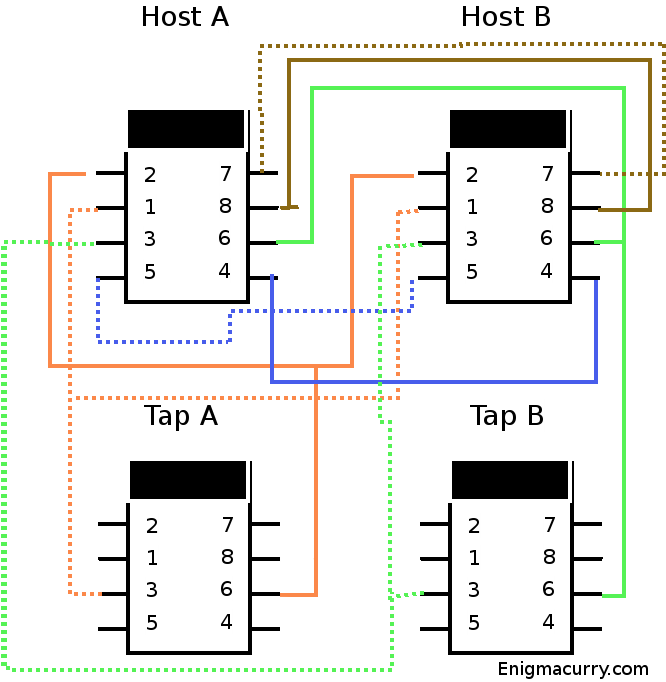
First I googled wiretap diagram and found the picture above. That diagram shows exactly what you want to make a basic wiretap, so now you just need the parts!
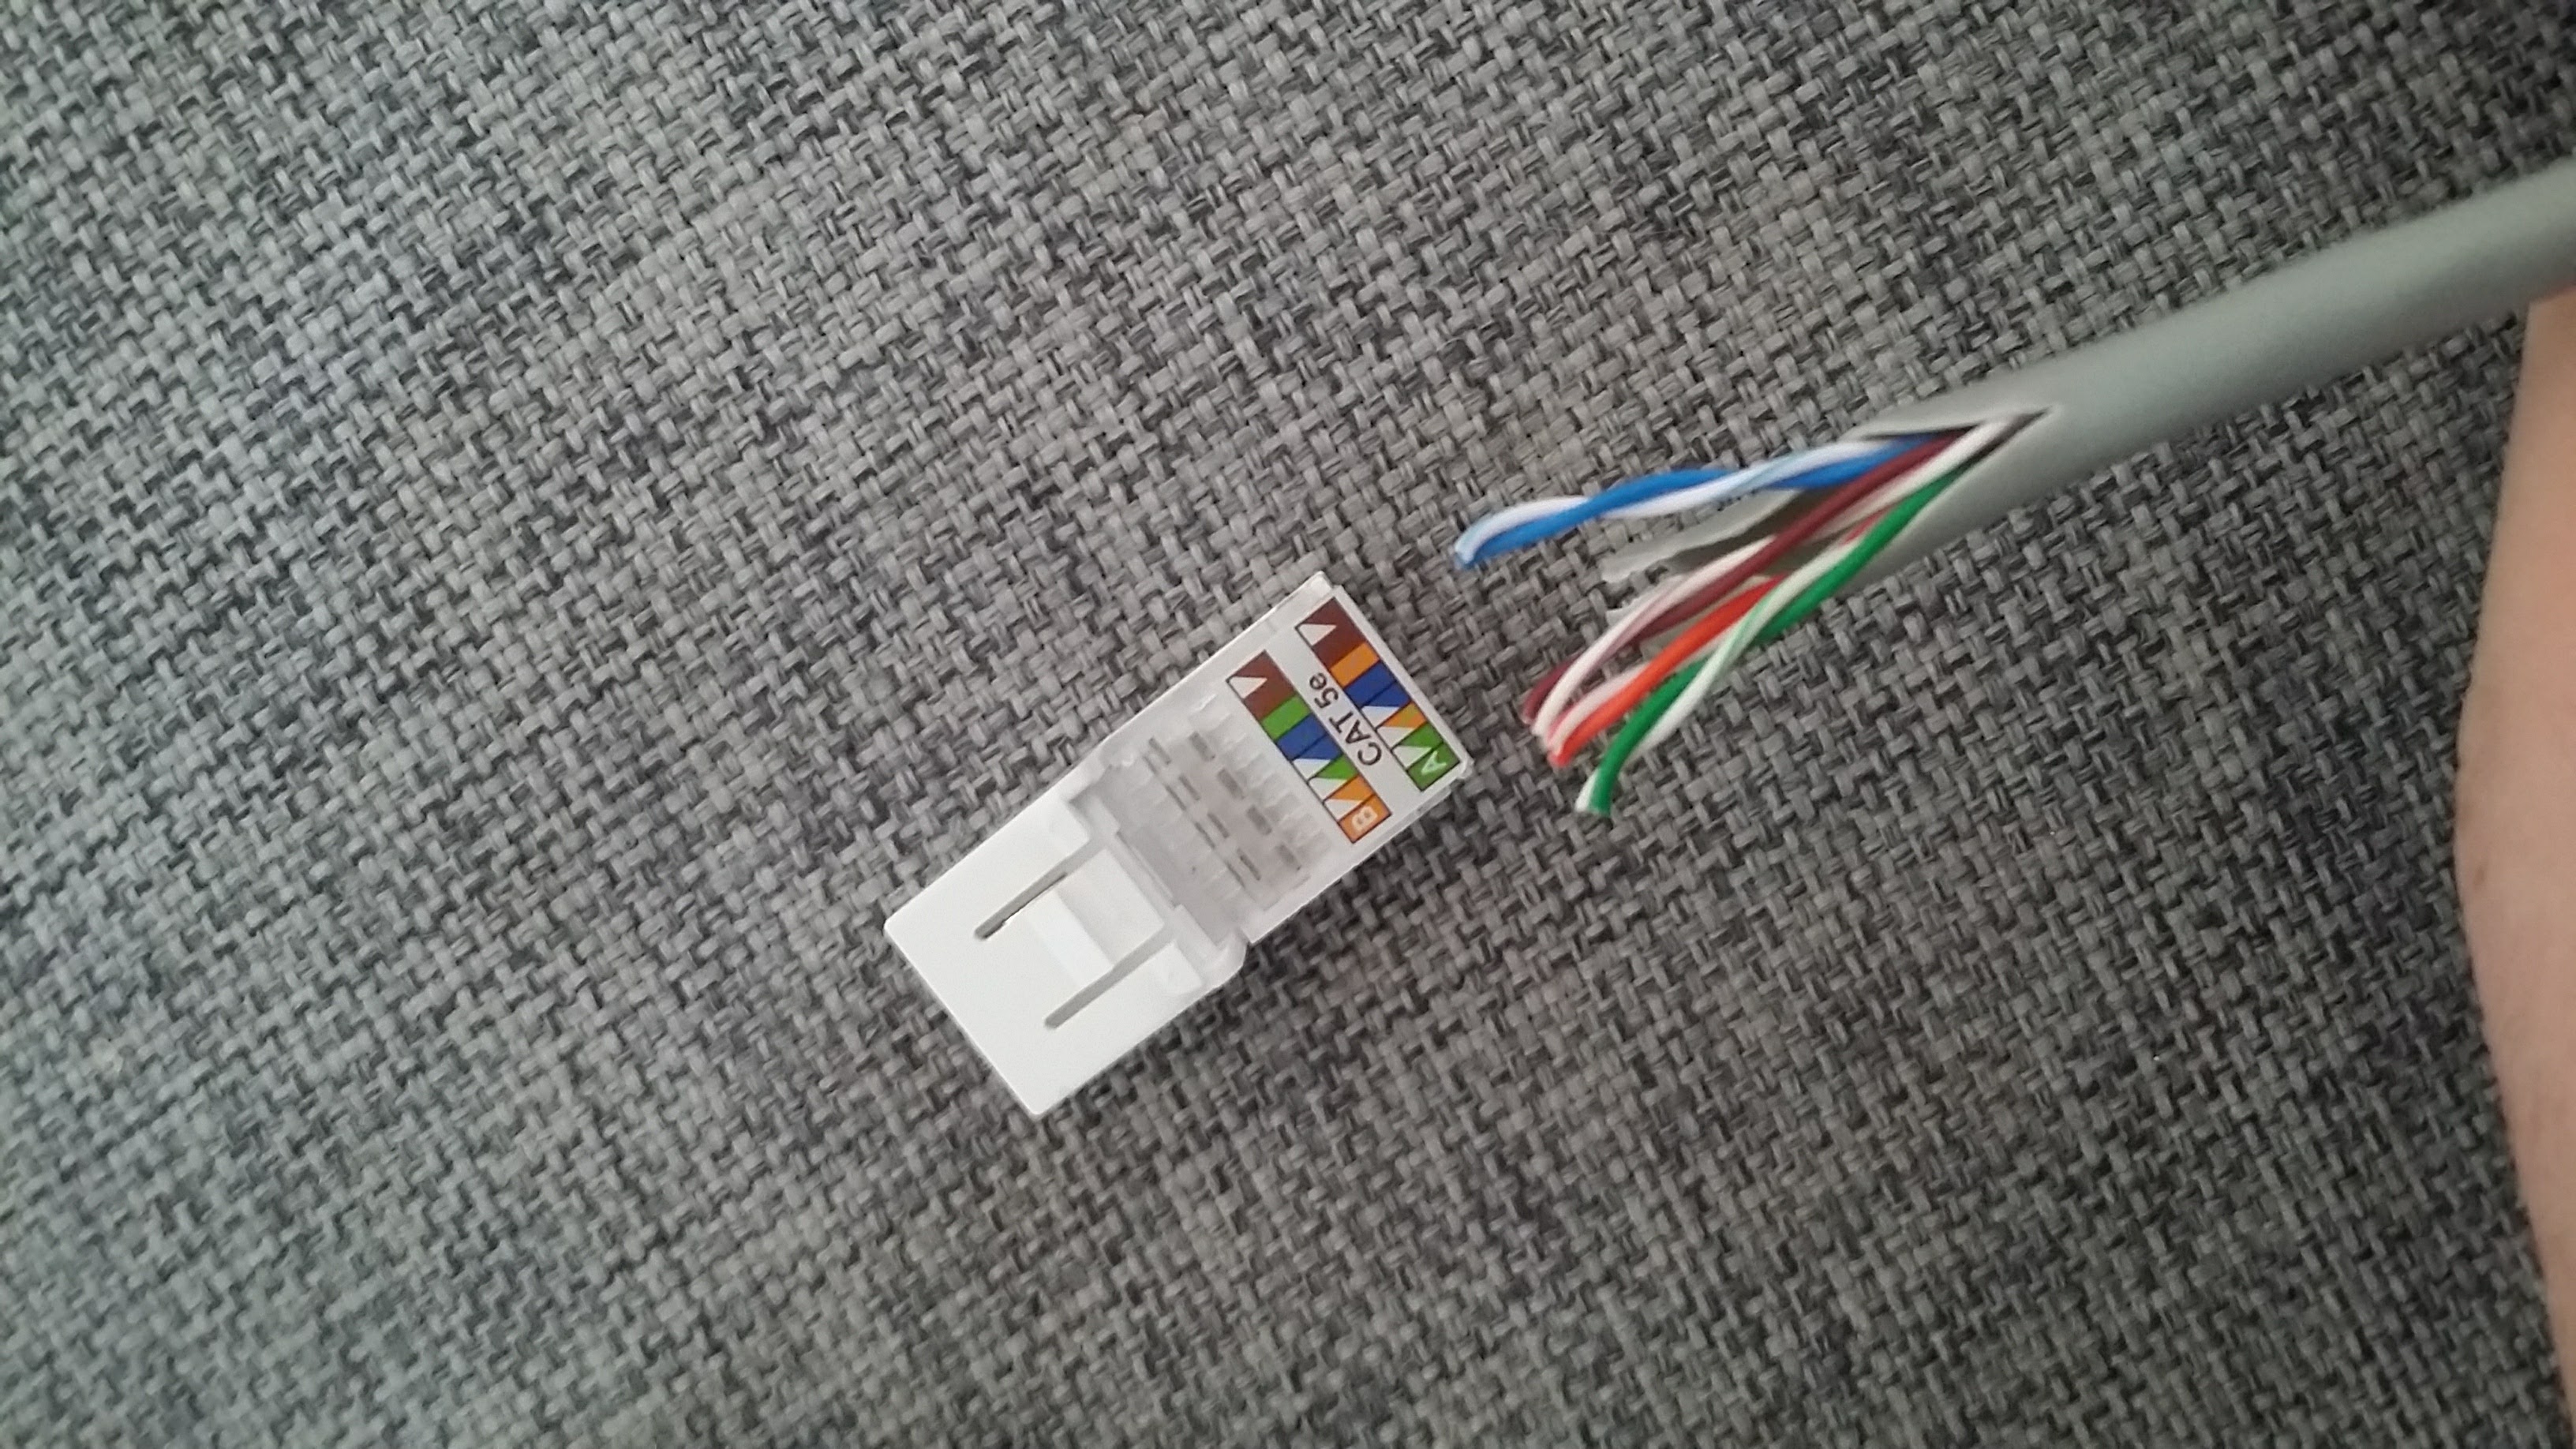
I ordered a set of ethernet connectors from dx.com to make this, but you could also scavenge them from an old router. The ones I bought from DealExtreme had crimps for the wires, making it a lot easier to do the wiring.
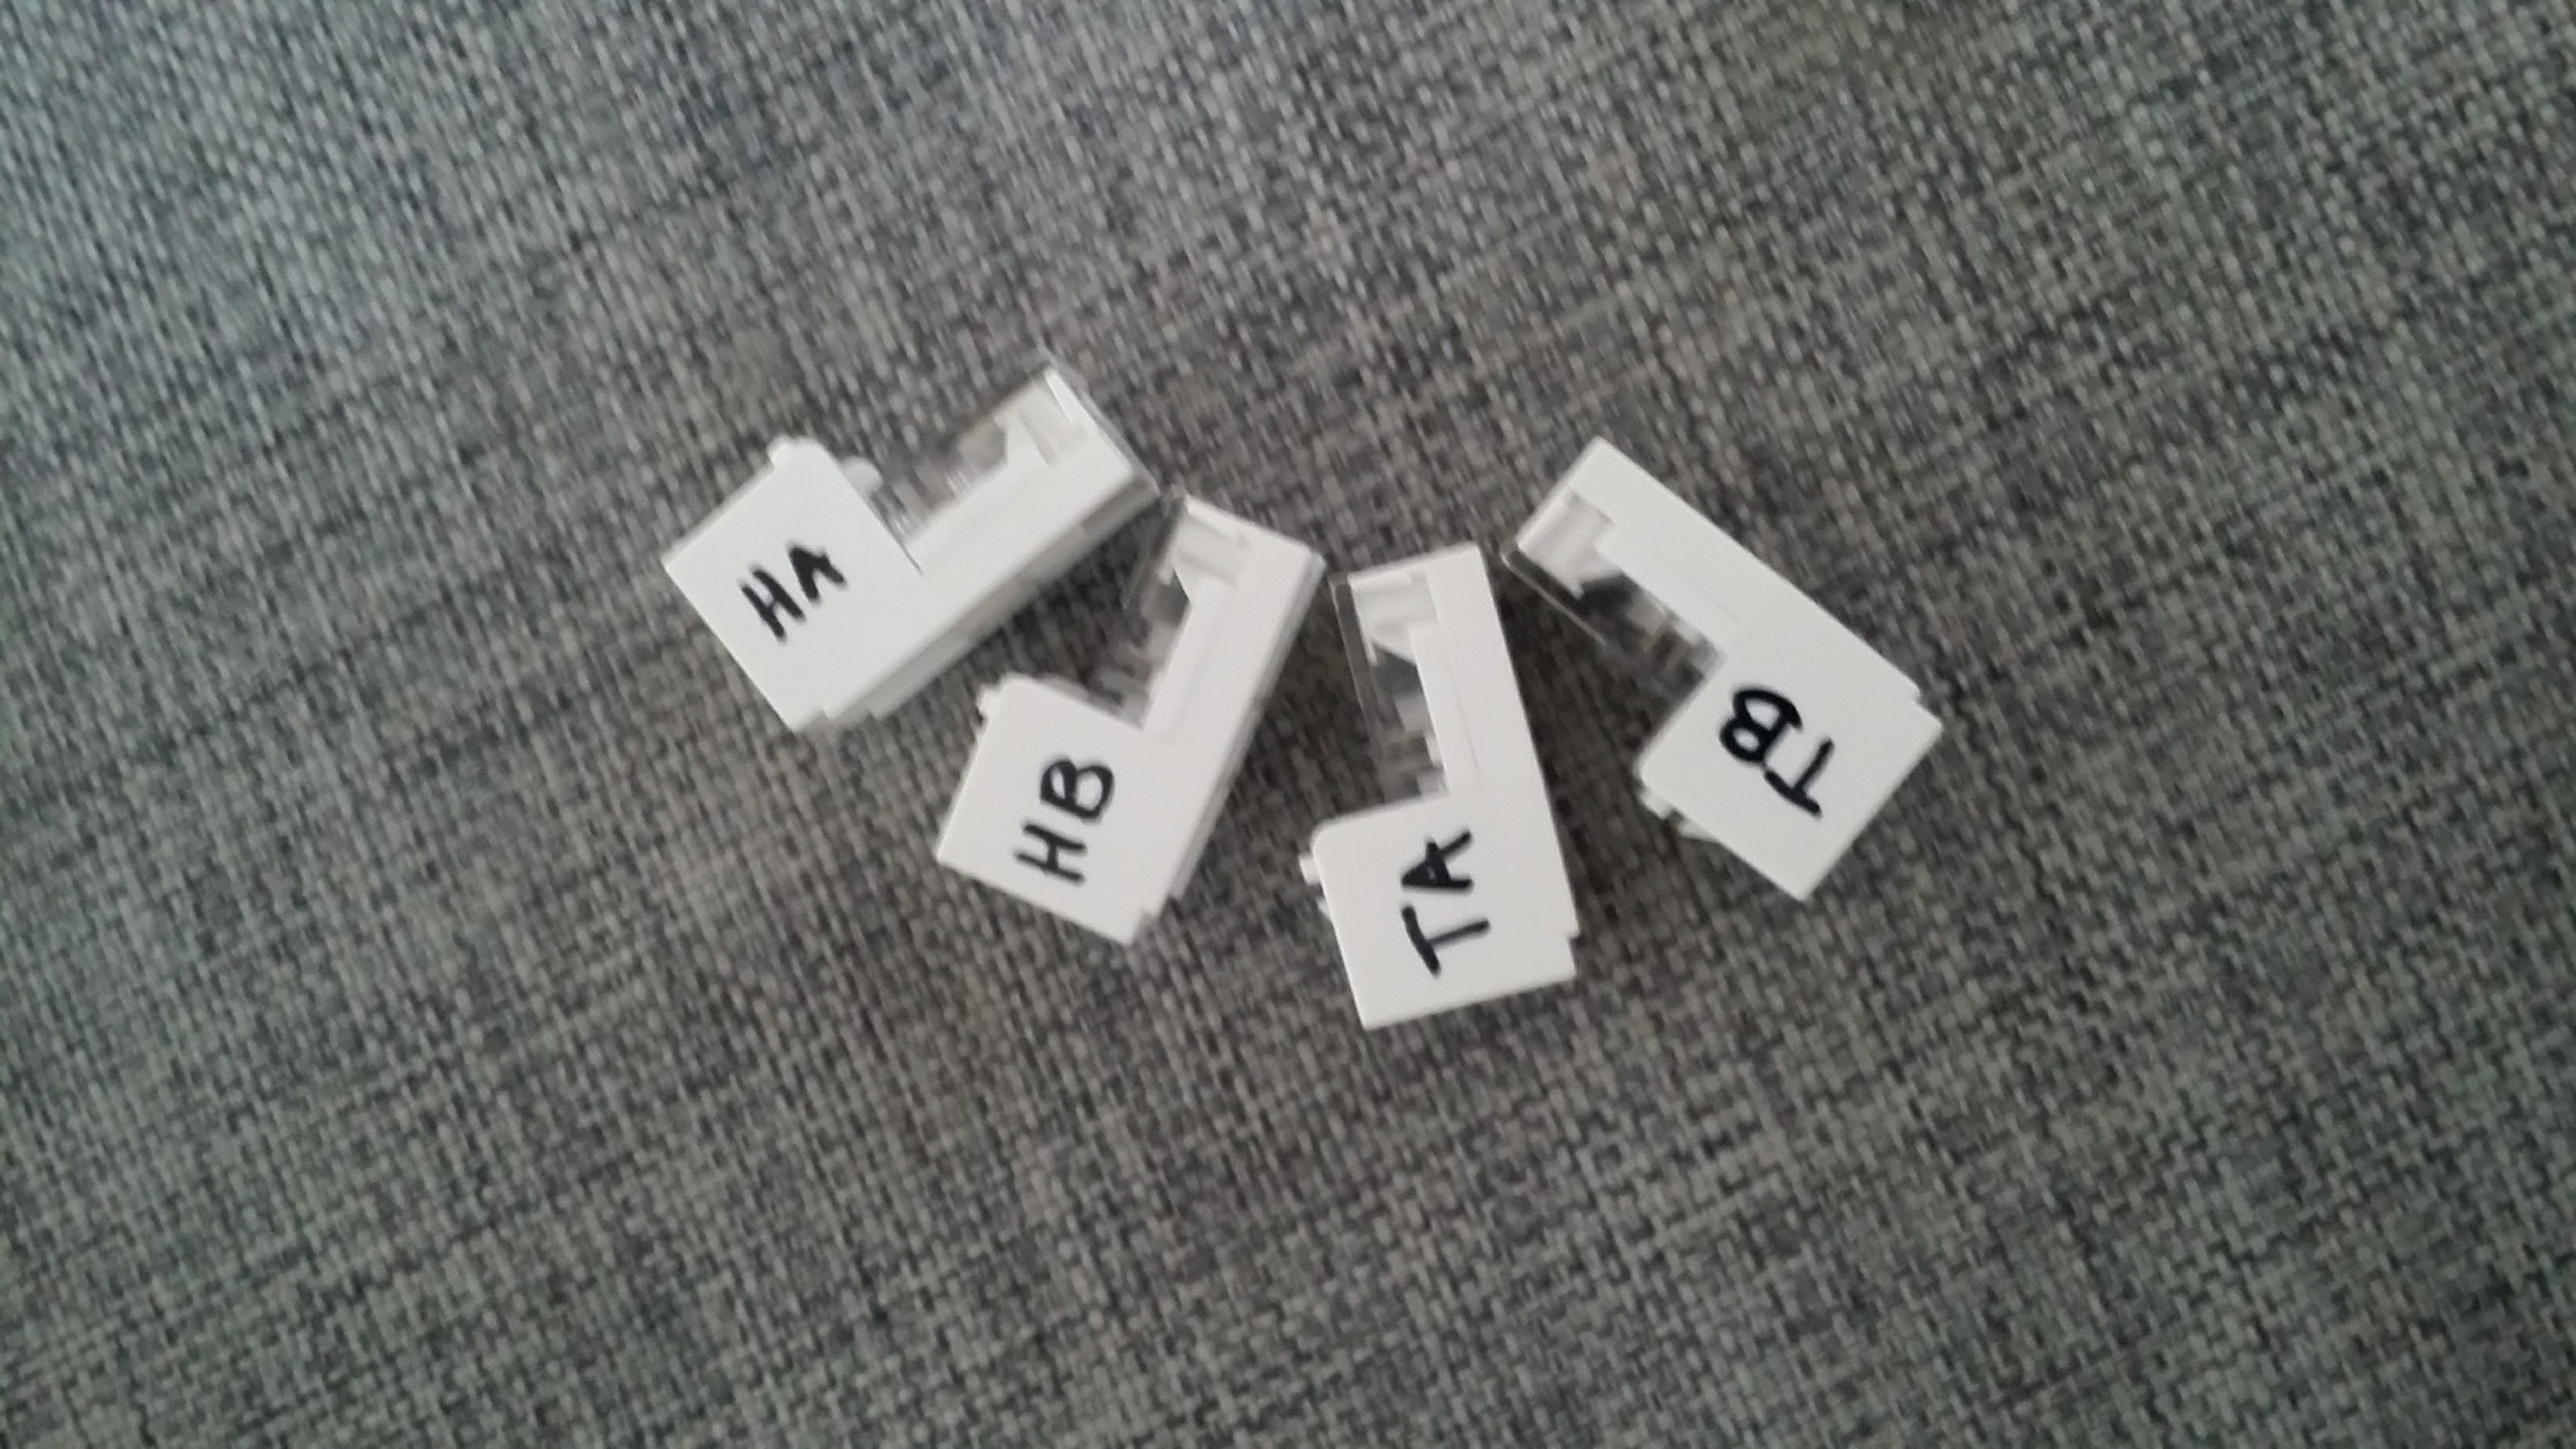
I started by marking the connectors: Host A, Host B, Tap A, Tap B.
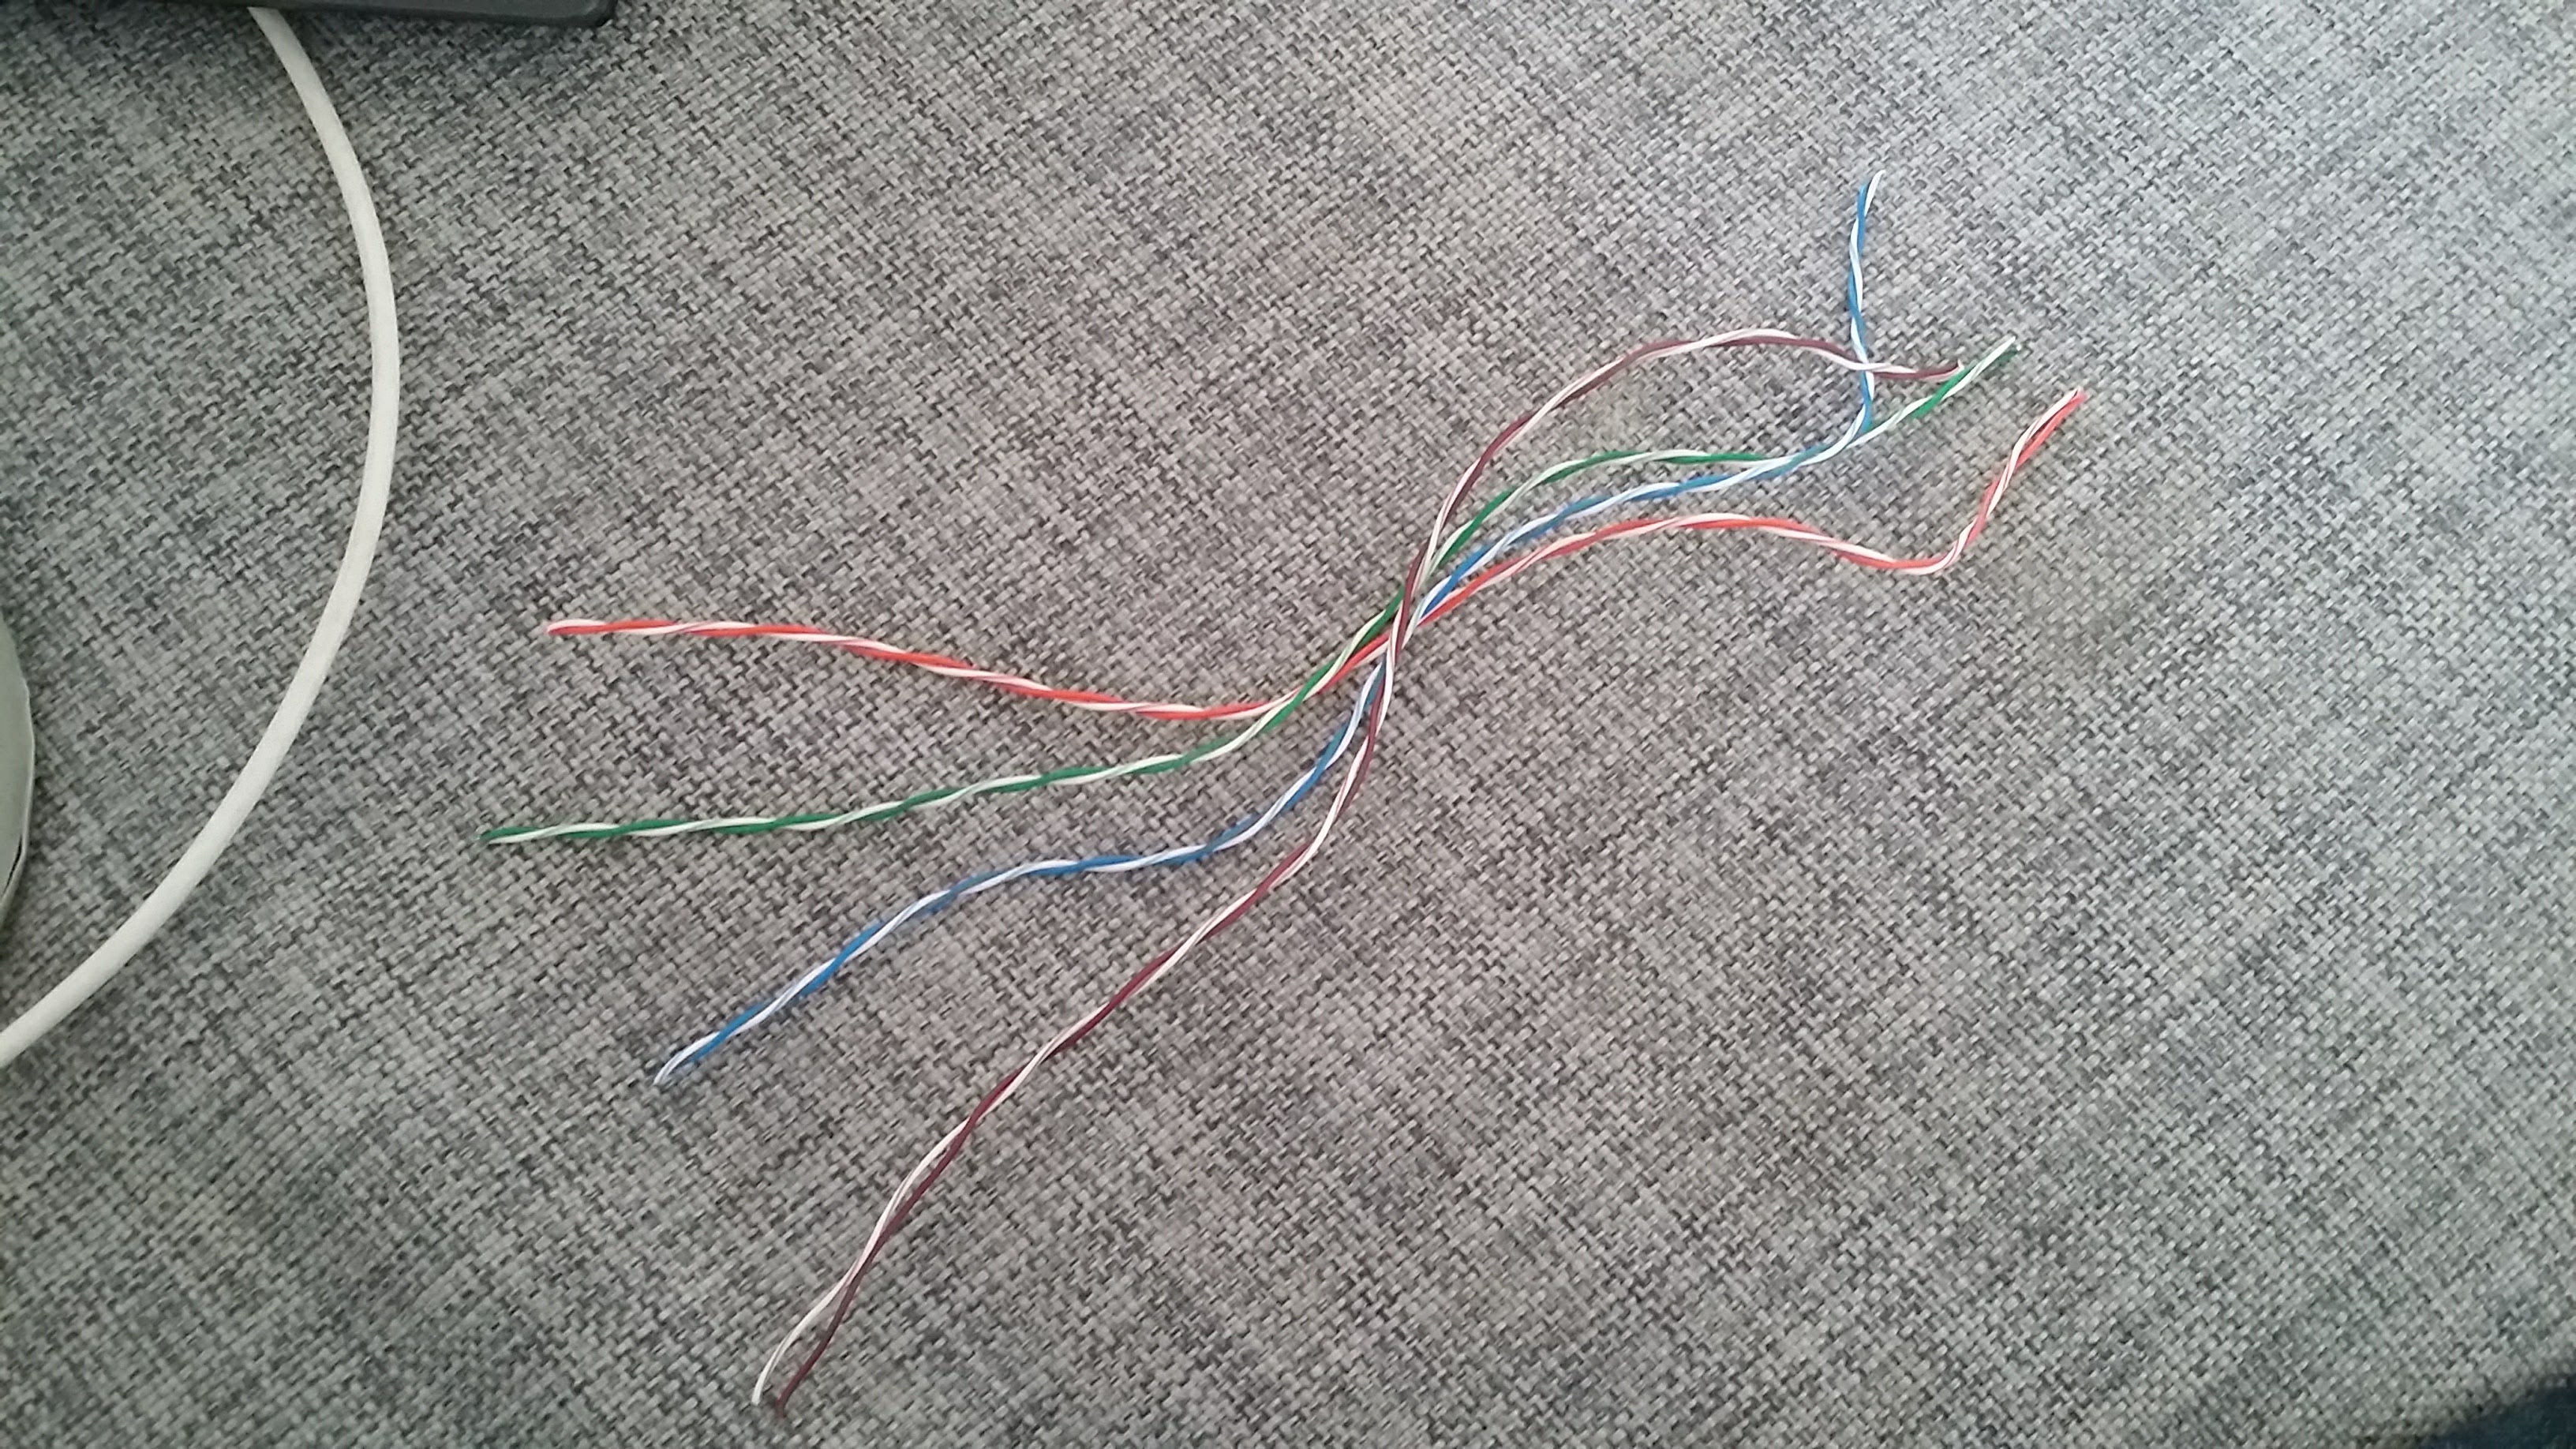
I scavenged wires from an ethernet cable.
The colors even match! Now it’s just doing the wiring and you’ll end up with something like this:
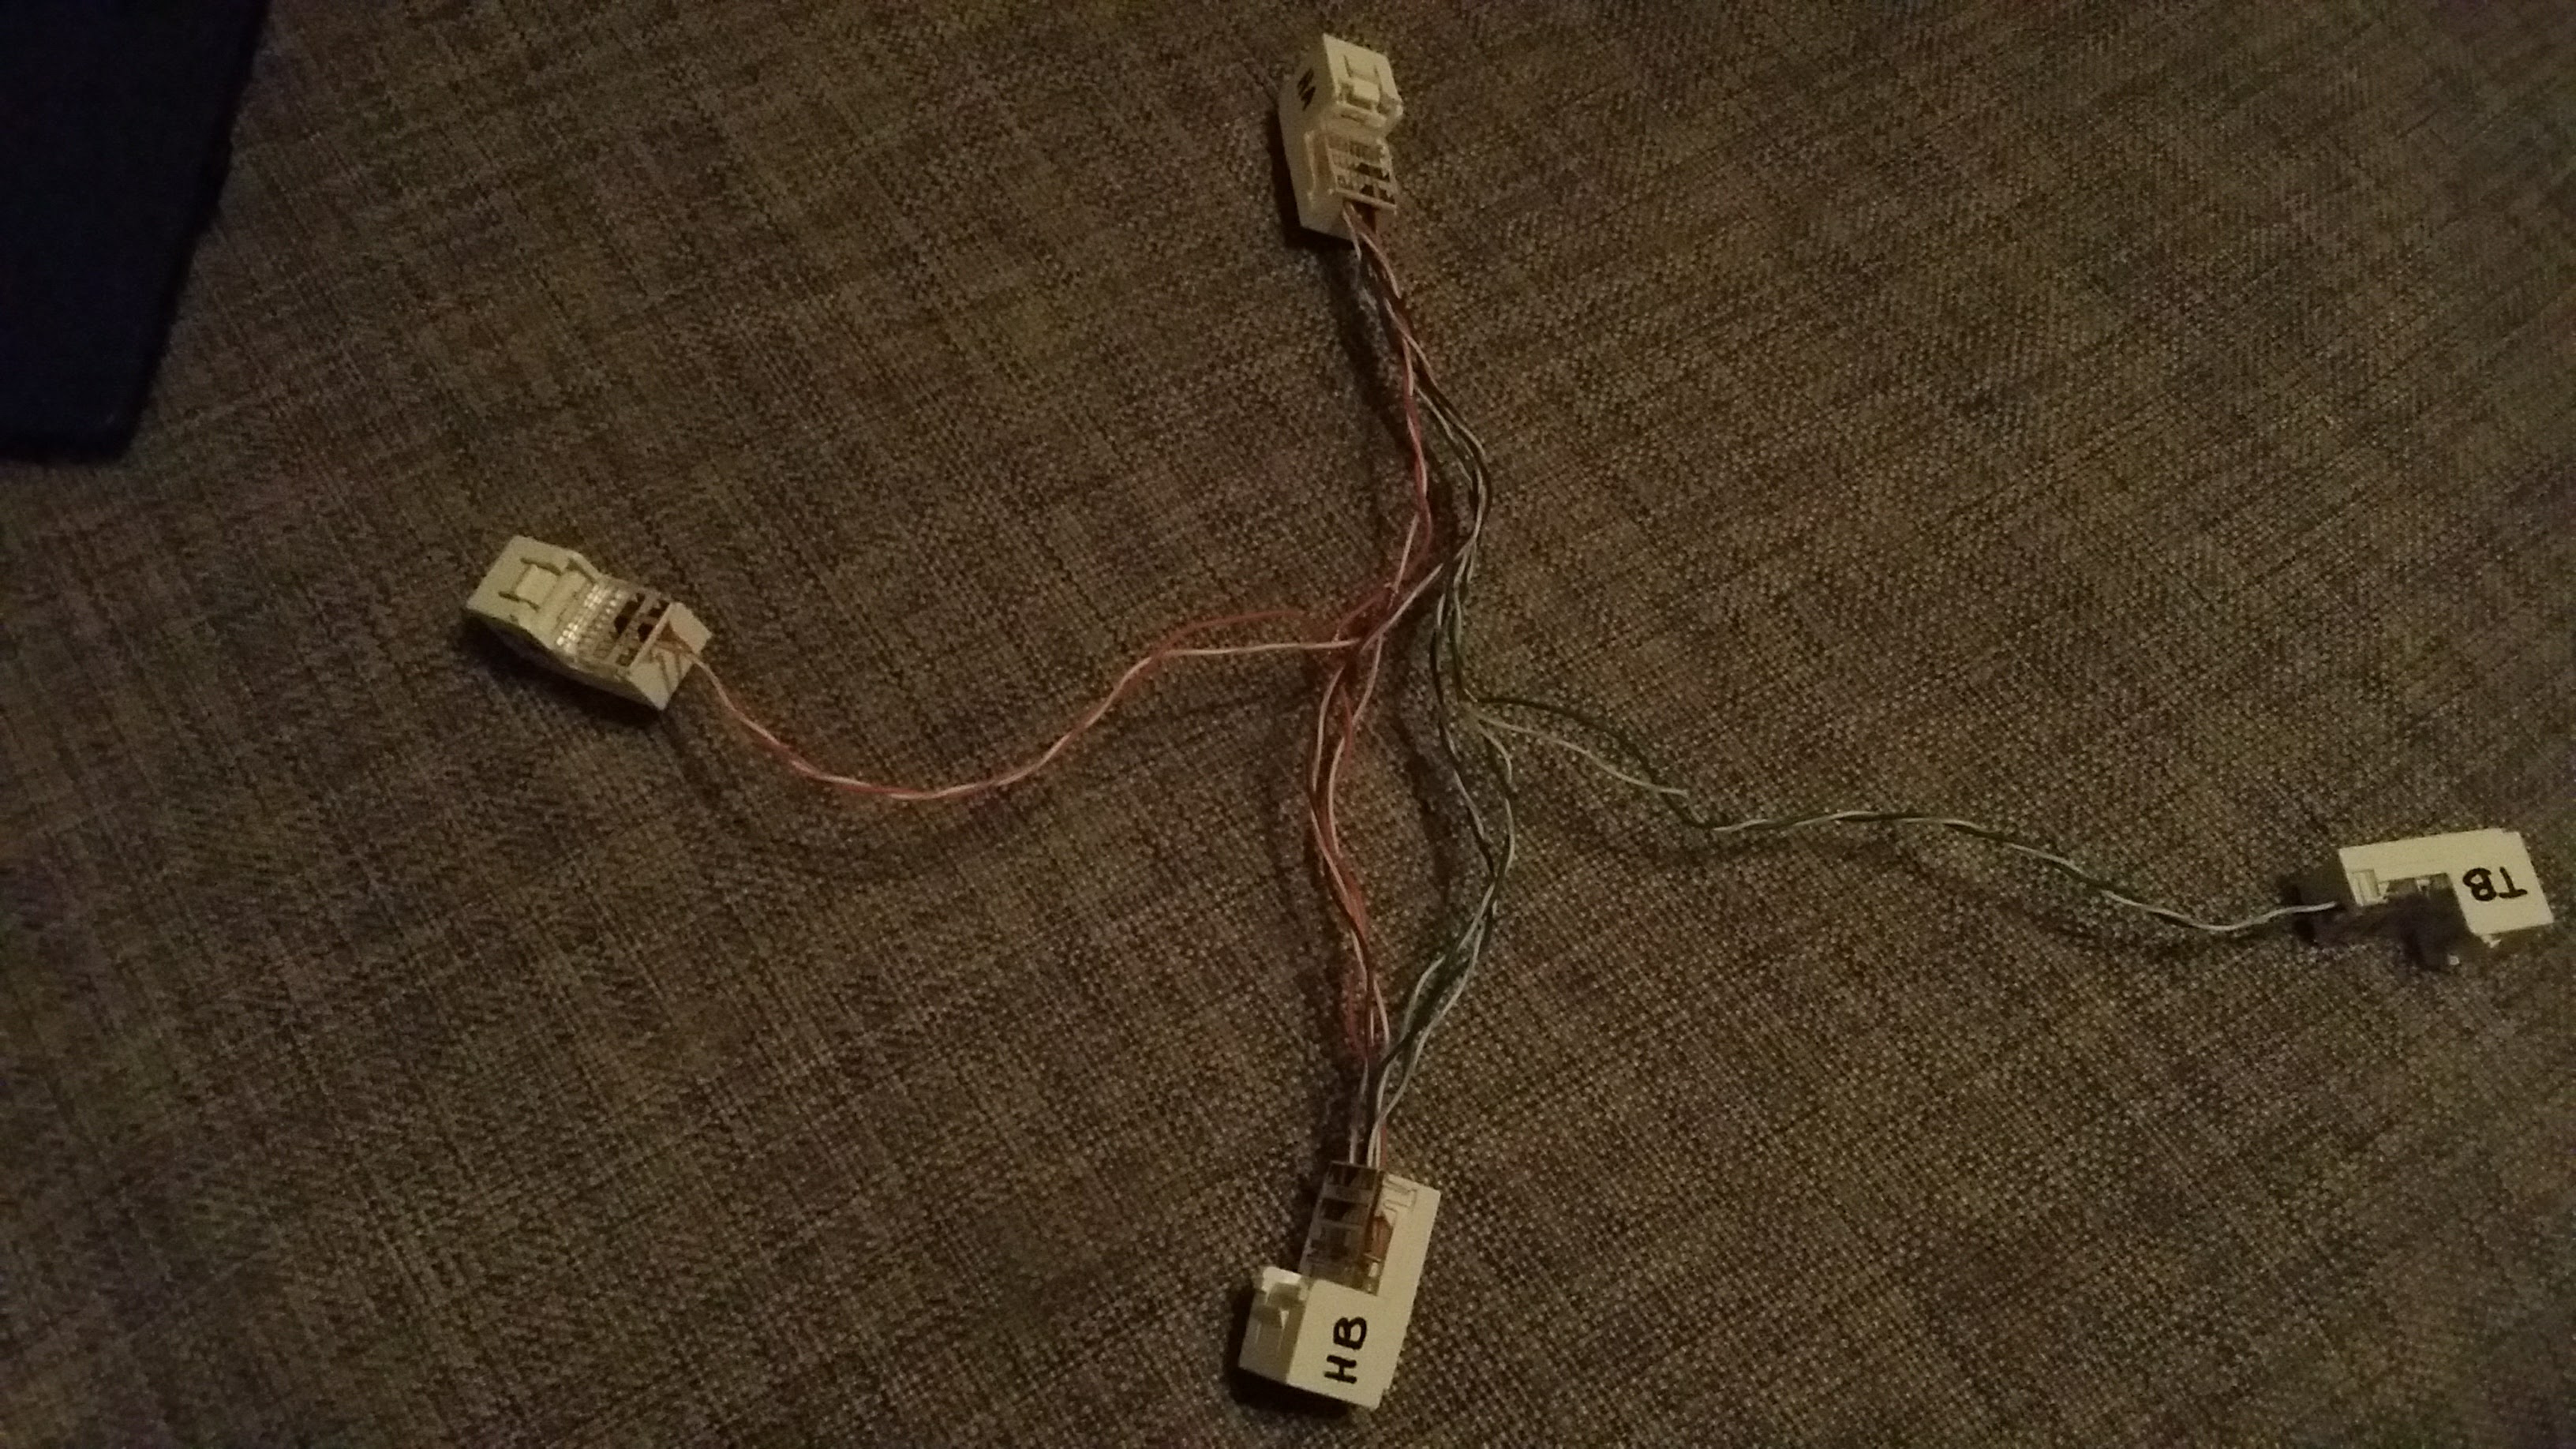
The wires should have been a lot shorter, but whatever. The next step is getting a case that fits a raspberry pi and the wires.
Quick reminder: the wiretap is limited to a 100Mbit/s regardless of the speed on the rest of the network. Keep that in mind in case the target network uses intrusion detection systems etc.